Data Mapping
Overview
Monarch has a screen that shows the data mapping for a selected source. It includes an overview of the objects as well as the fields mapped in each object.
Mapping Table
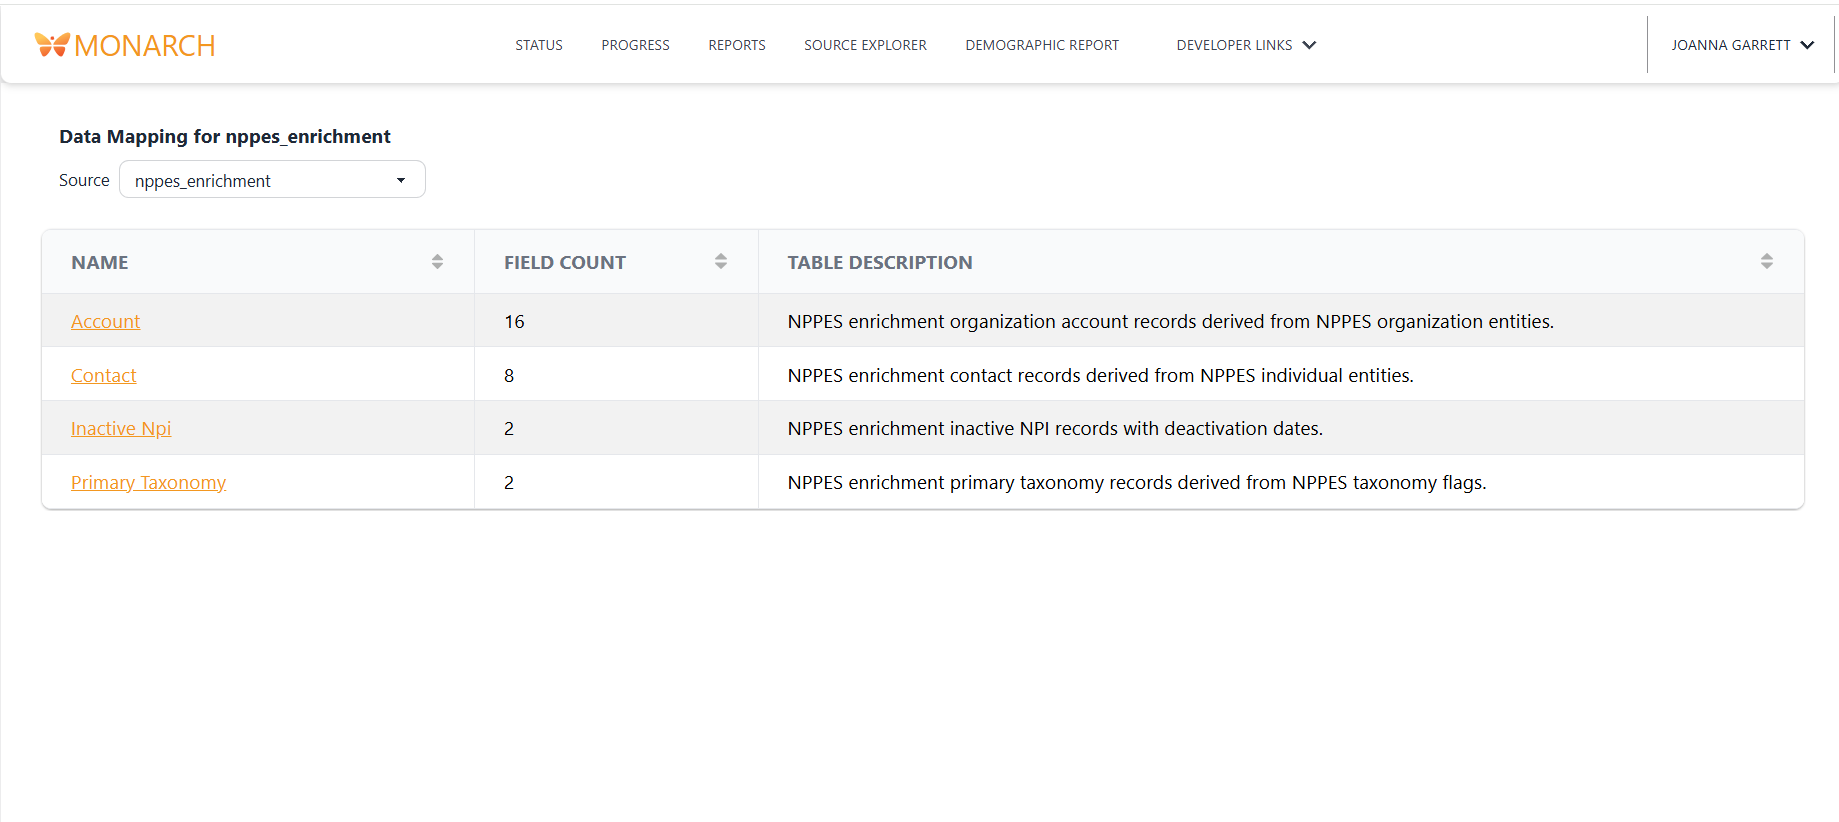
The mapping table has two views - an overview page and a model-specific page.
The overview page shows the name, number of fields, and a description of the table.
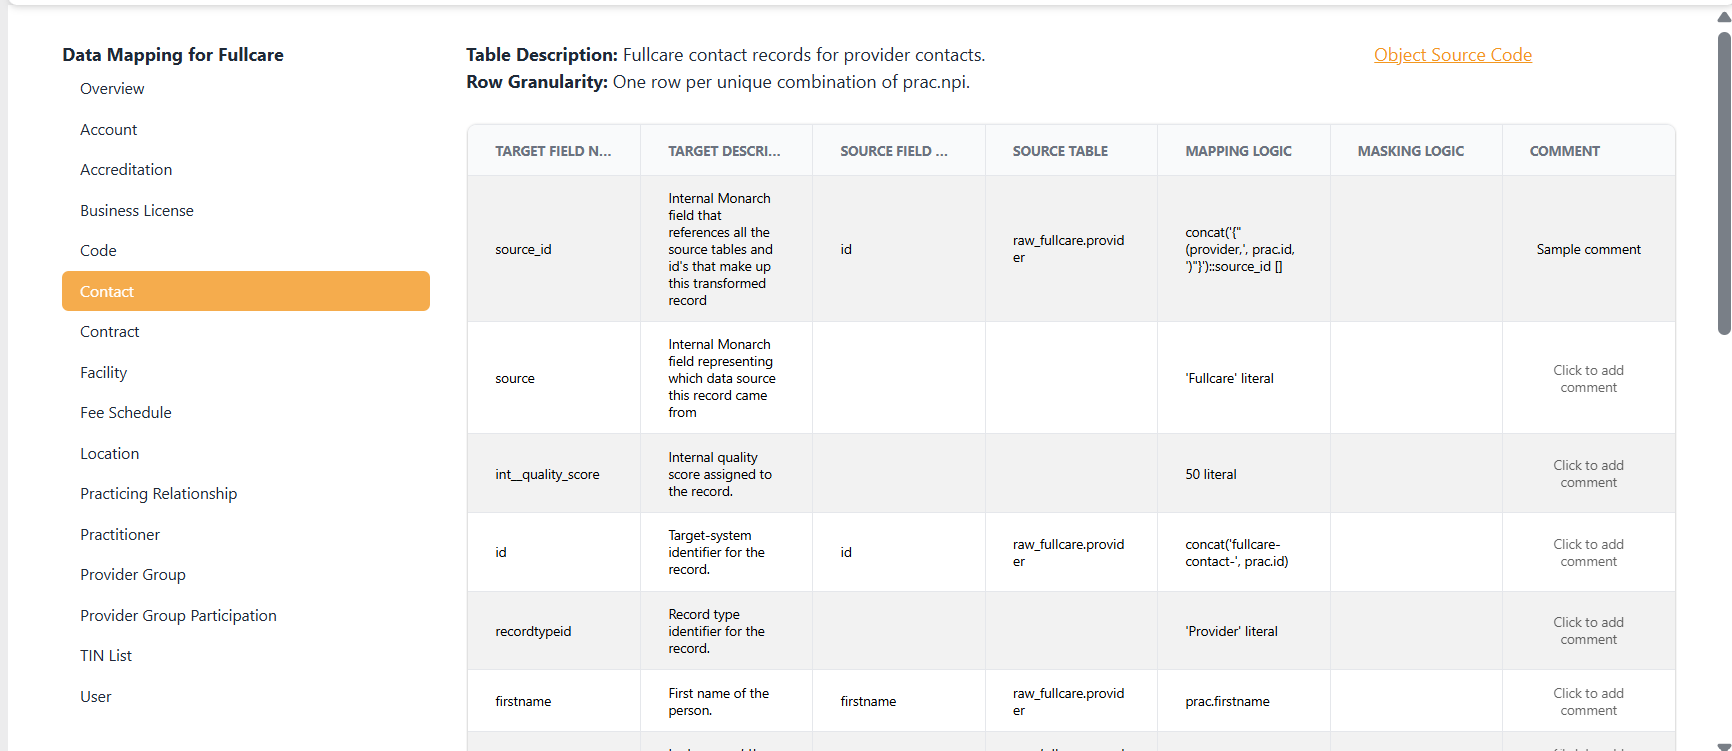
The model-specific page shows some metadata about the object at the top, followed by columns.
Metadata
- Table Description: Information about the current object
- Row Granularity: What makes a record in this object unique
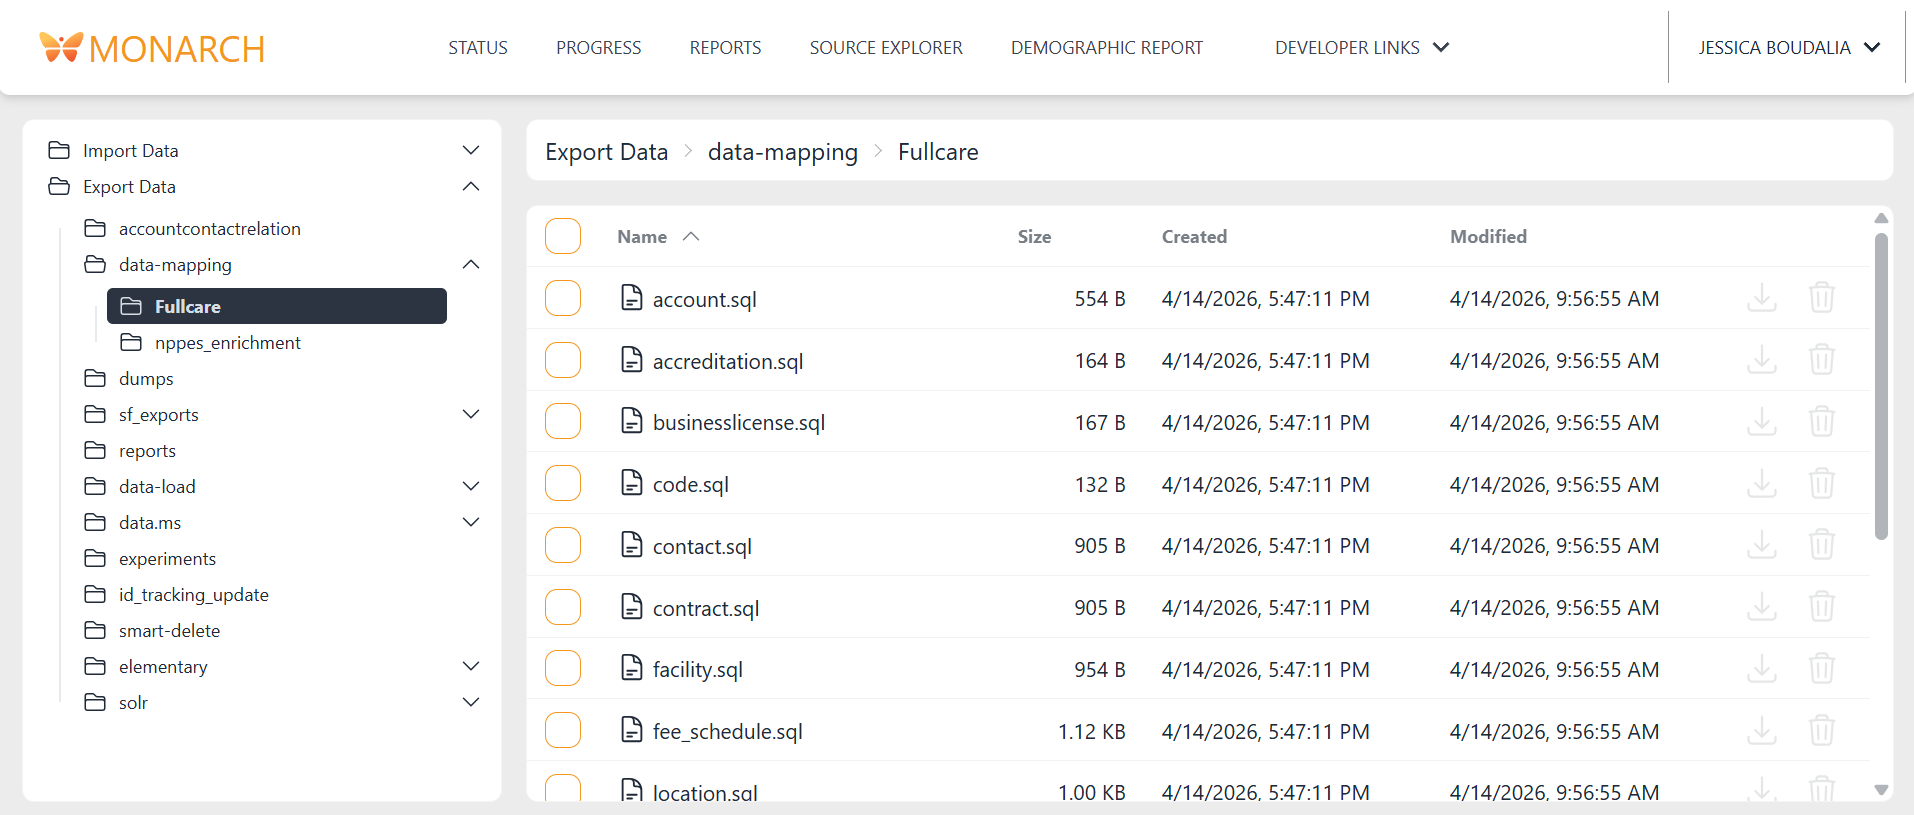
- Object Source Code: A link to the export directory containing the transformation DBT models
Columns:
- Target Field Name: The name of the field in the target system
- Target Description: A description about the target field
- Source Field Name: The name of the field in the source data
- Source Table: The name of the table from which the source field data comes
- Mapping Logic: A description of how the source field is converted to the target field
- Masking Logic: A description of how this field is masked if applicable
Syncing
DAG 01_sync_data_mapping can be used to update the mapping table based on the transformation DBT models. These models are usually updated via the source-onboarding agent or by hand.
1. Generate the Mapping Table CSV's
This is currently a manual process but eventually it will be automated. DAG 01_sync_data_mapping takes in the mapping table metadata as two csv's - one for object overview information and one for field. The current process for generating the files is to have Codex look at the DBT model folder and follow the PROMPT.md in the agent/data_mapping_table folder. It will generate one file for object and one for field.
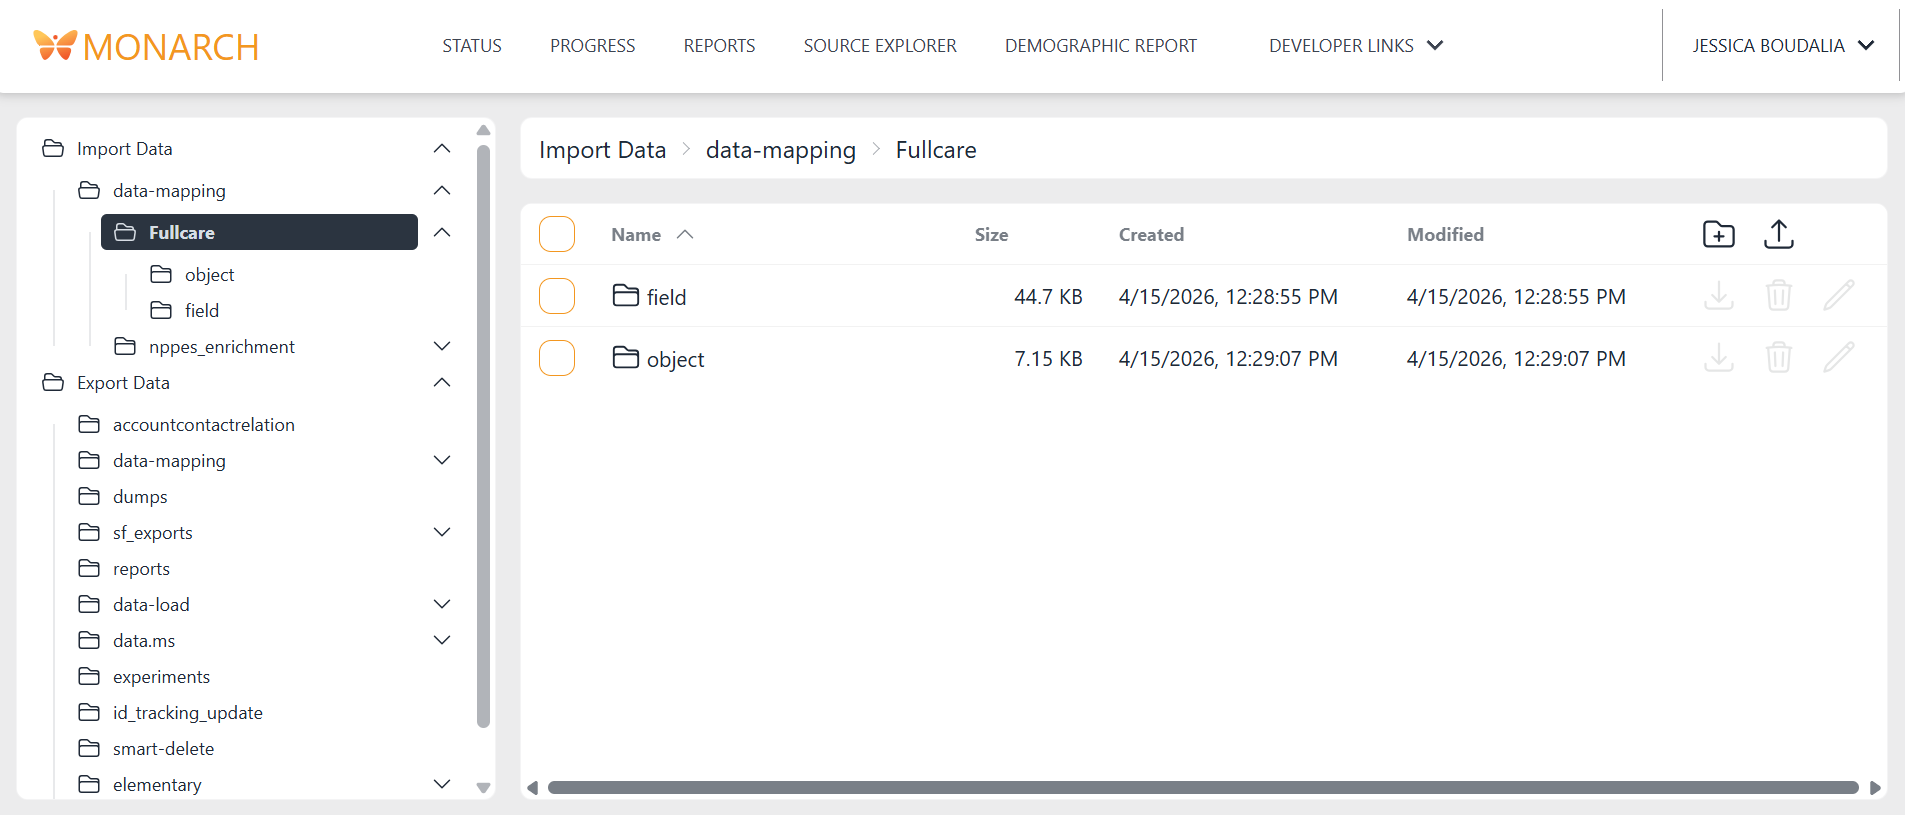
2. Upload the CSV's to Monarch's Import Directory
Once you have those metadata csv's, upload them to the import directory in the data-mapping/{source name} folder. Field files go in the field directory and Object files go in the object directory. The {source name} of the folder must match the source_name as configured in Source Ingestion.
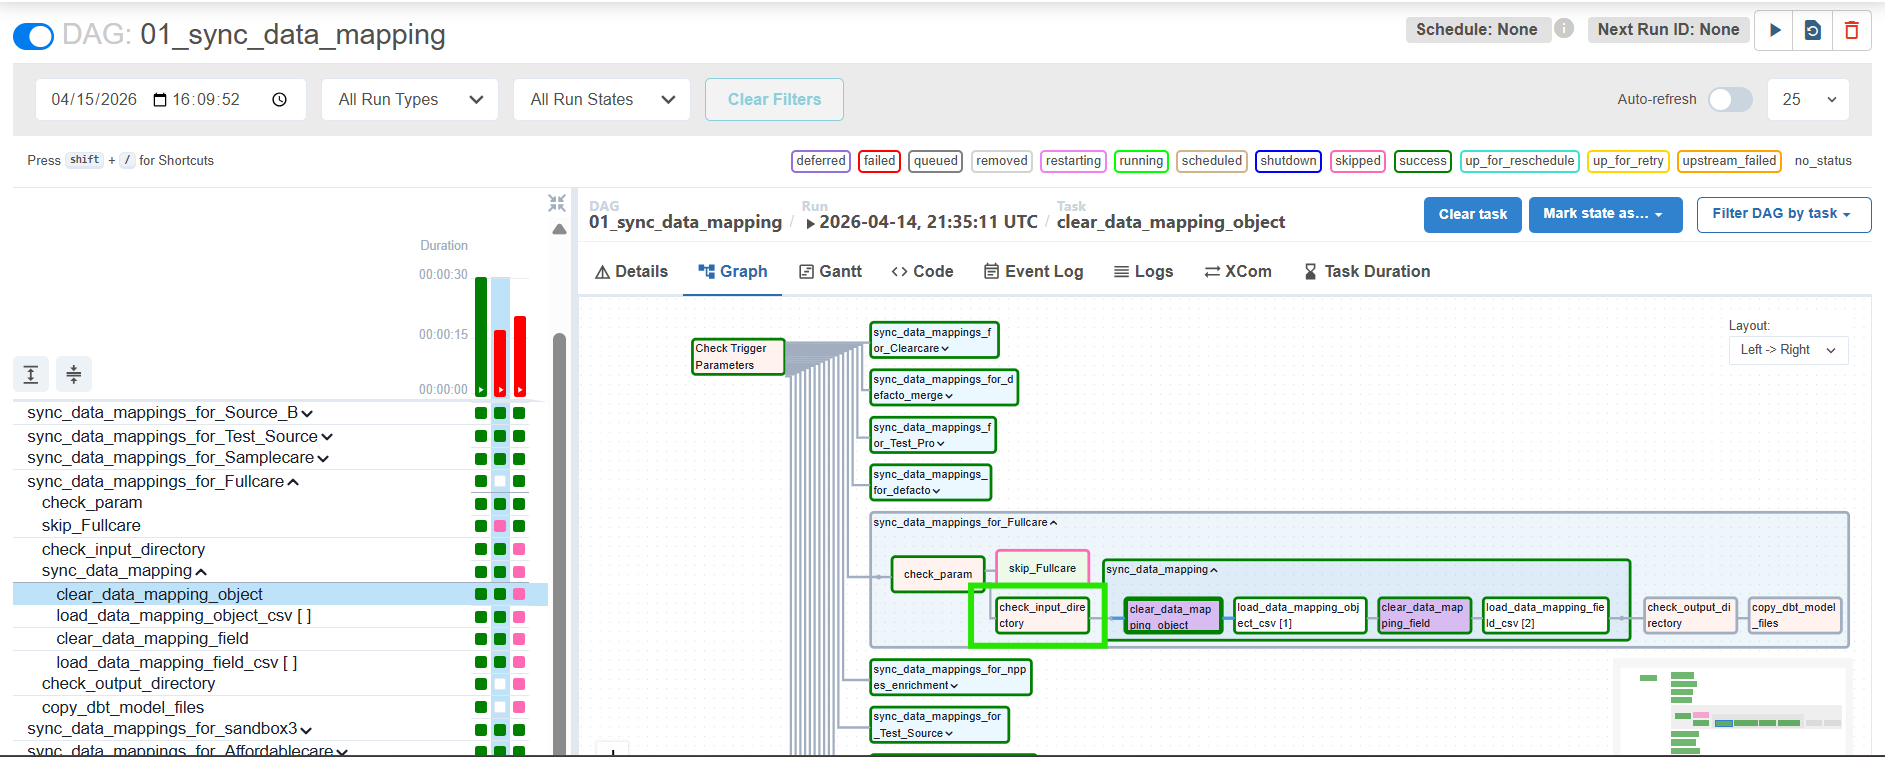
3. Run DAG 01_sync_data_mapping
Select the source(s) you want to sync when triggering the DAG:
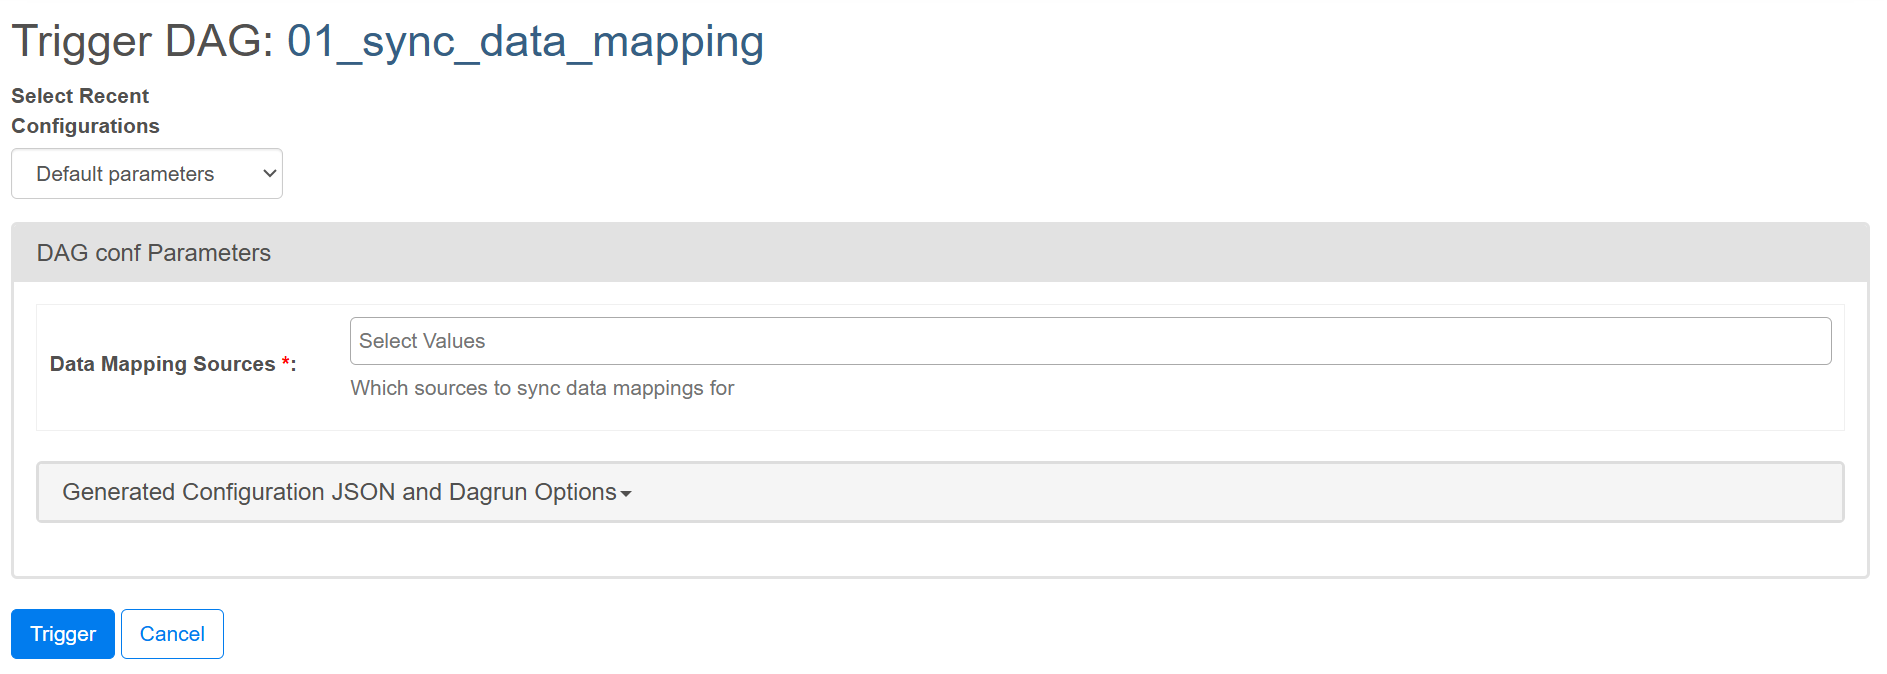
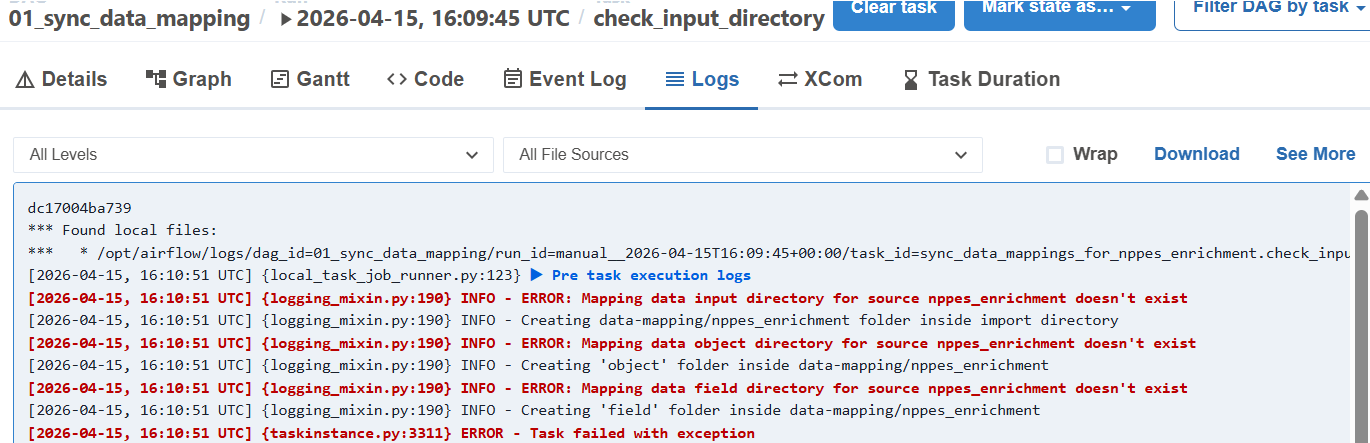
Note about the check_input_directory step. If the import folder doesn't exist, it will be created during this step. Once it does, you can clear that step and continue the DAG run.
4. View the Results
Once the DAG finishes running, navigate to the data mapping screen from the ... links of a source in the status page. The screen will be populated with the latest mapping information. In addition, a copy of the DBT models will be available for download at the export directory in the data-mapping/{source name} folder.