How to use Source Explorer
After following the instructions for setting up Source-Explorer You can start using Source explorer to see relationships in your data. Source explorer allows you to see data laid out from a particular source to see its current data and relationships. You can set up source explorer for view data from any of the monarch schemas such as staging to see the data after it is merged. Or you can set it up on your raw data provided that you can define the data relationships. If you set up your raw schema you will be able to navigate from an object in a a monarch schema and look at the original version in your raw schema by using the source fields on the Source-explorer details page.
On the initial search screen you will be able see different categories to filter your data with. Searching by TIN is an easy way to see all records are a part of a provider tree with that TIN. You can also use the Source dropdown menu to only retrieve results from a single source.
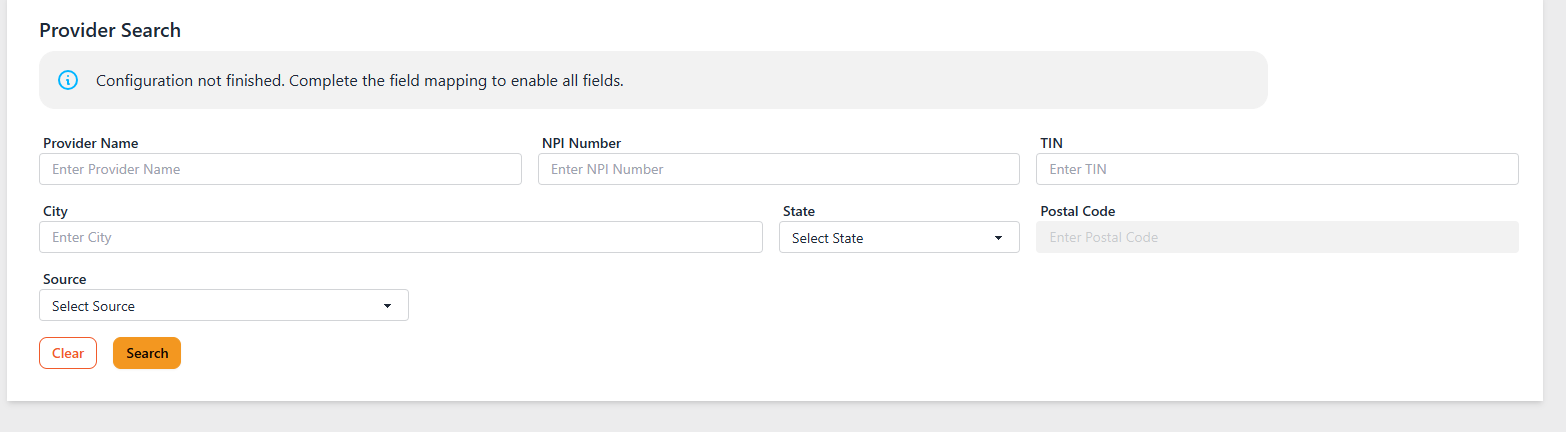
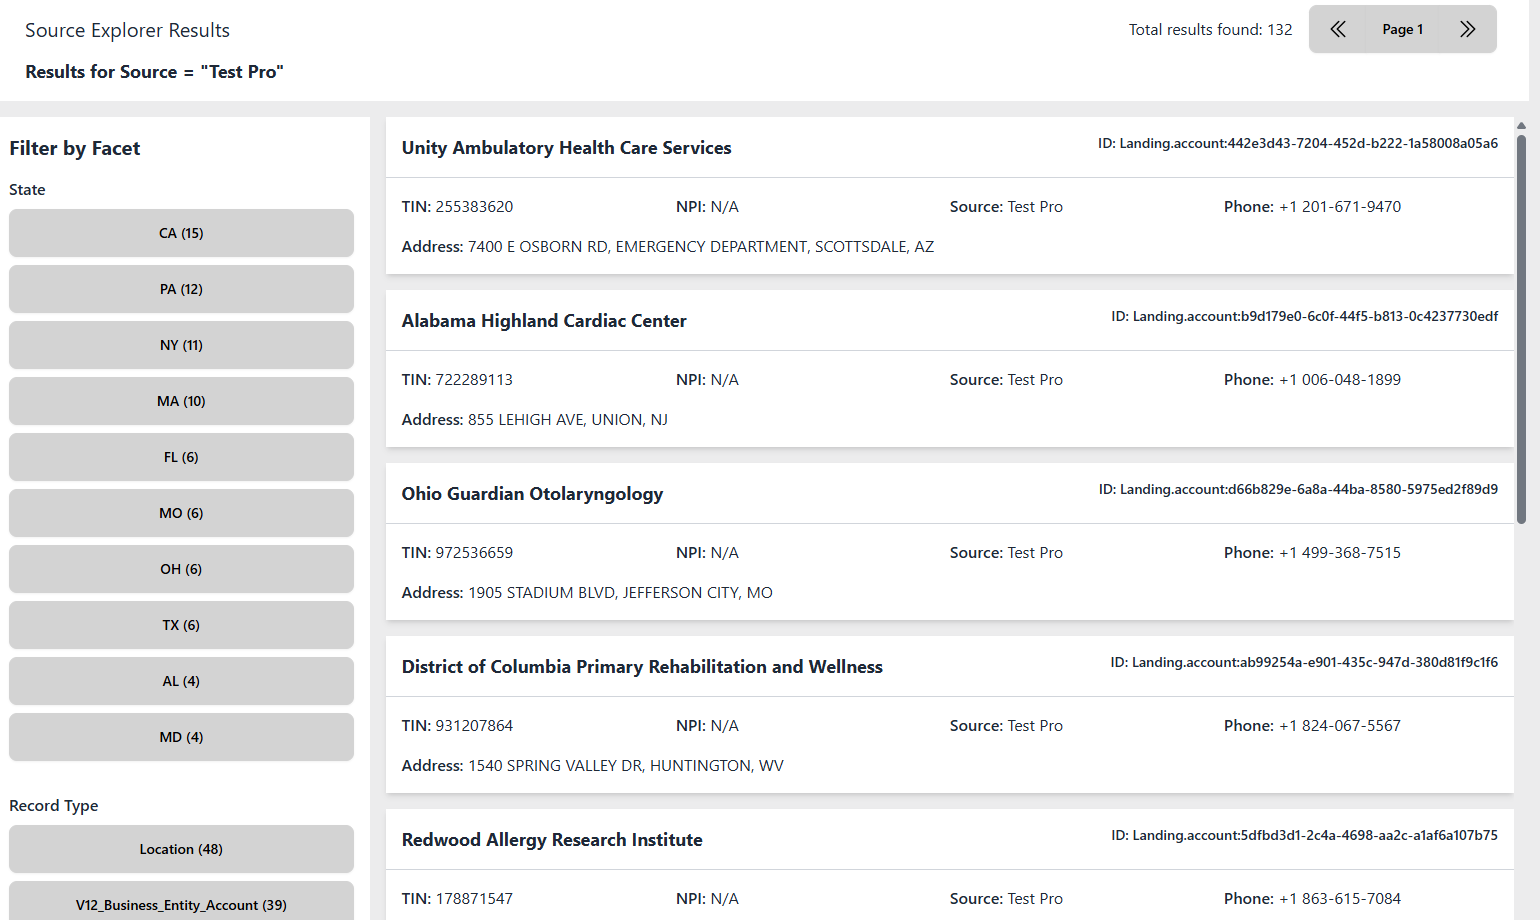
After searching you will be shown a list view of all returned records, on the left hand side you will be given categories you can filter by. These categories are dictated by the facets that you declared in your config process. By filtering by facets and making your own facets you can create views of your data to see how it is being represented in your data model.
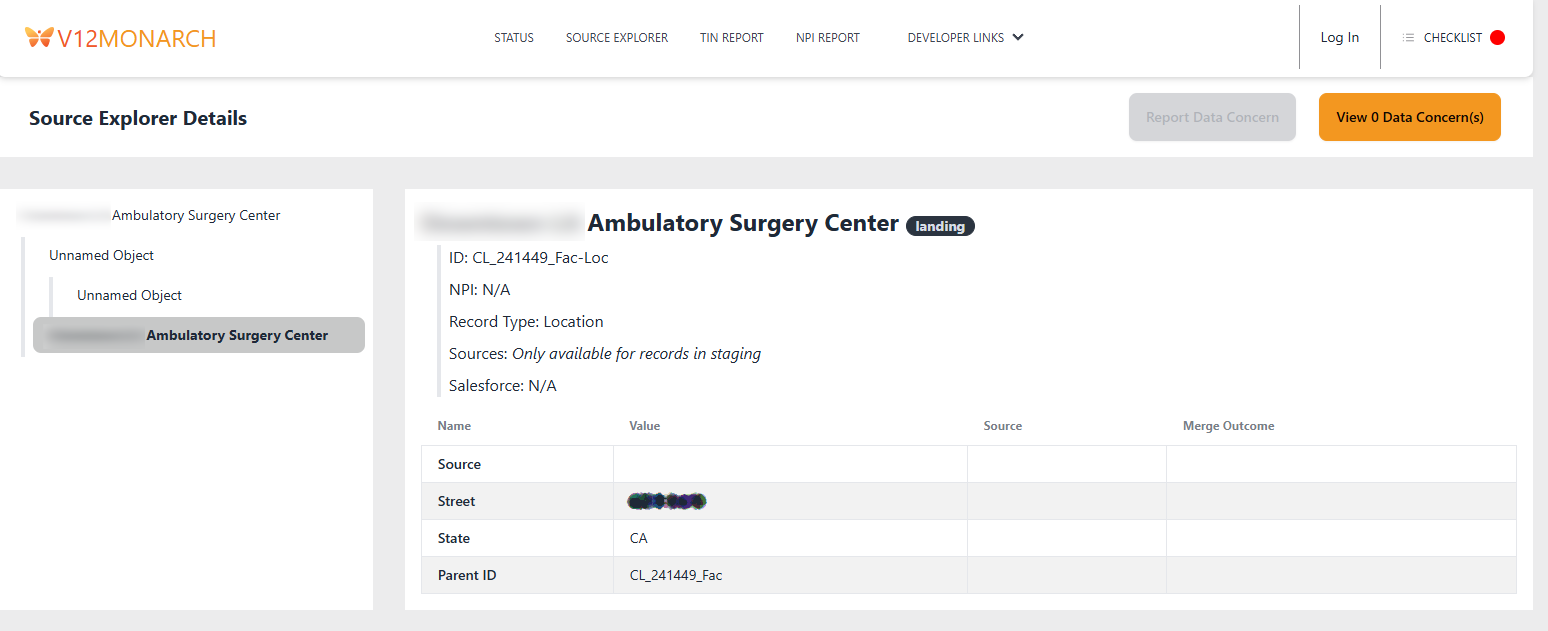
Next you can click into an object in the search results screen and see a detailed view of an object. On the left hand side of the screen you will see where the object lives in the hiearchy of its provider tree. In the details section you will be able to see information at a glance.
- What sources this object was merged from if applicable
- If the object came from Salesforce
- The data information for the object that you configured to see in your source explorer config.